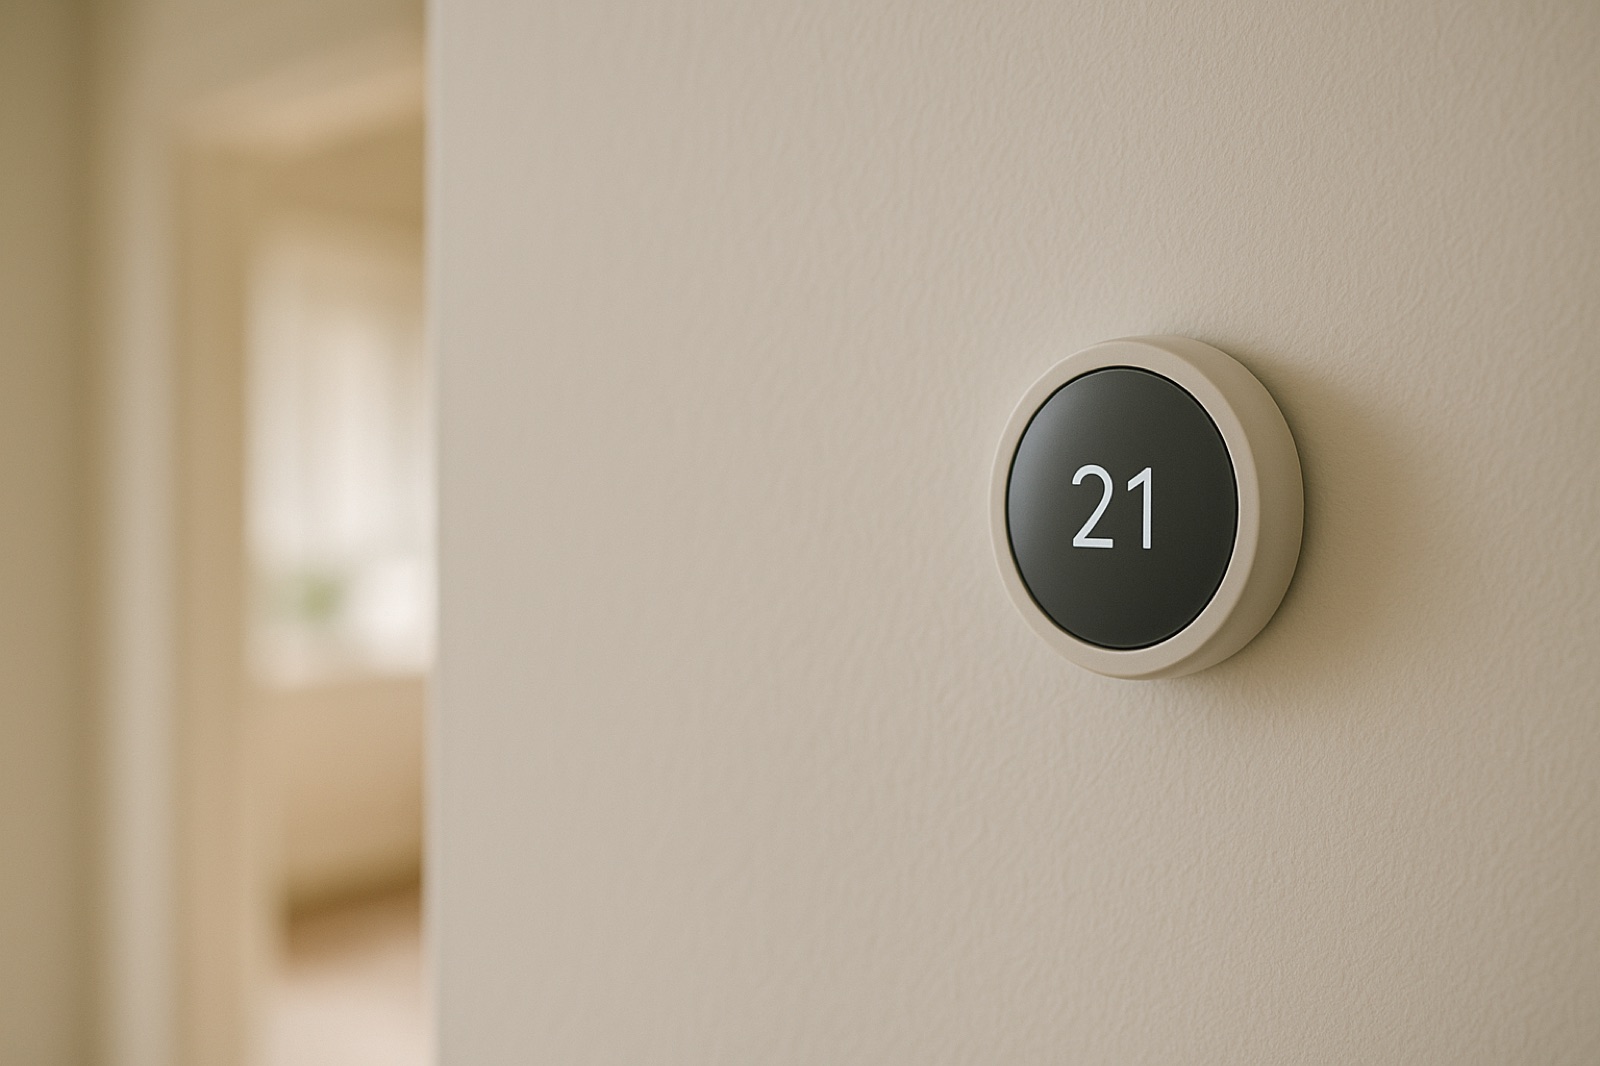
A smart thermostat looks like a simple purchase until the new base wants a wire the wall does not have. You can answer most of that question yourself before the box goes on the wall. You need a multimeter, a flashlight, a phone camera, and access to the control board in the furnace or air handler. Keep the power off unless a step below says otherwise.
ACHR News reported that Daikin's installation and monitoring platform, SkyportCare, was honored in the 2026 Integrated Home Competition. One of the judges said the platform "represents a huge win for consumers and installers alike." The useful takeaway for a homeowner is not the award itself. It is that installers and owners both depend on a clean, documented day-one setup, and the thermostat wiring is one of the first places where that setup either holds or quietly fails.
Why the C-wire decides the upgrade
Most conventional thermostats run on the power they draw from the control transformer through the call wires. A smart thermostat that keeps a display, a Wi-Fi radio, and a sensor awake often wants a continuous 24-volt supply through a common wire, labeled C. Some models can get by without C by drawing a small trickle of power through the heating and cooling circuits. That workaround succeeds on some systems and fails on others, especially when the call wires are already busy. The install guide for the specific model you plan to buy is the final word, so read it before you commit.
Map the wires before you touch them
Shut the system off at the breaker and set the old thermostat to off. Pull the old unit off the wall plate, then label each wire where it lands on the base. Photograph the cluster before you disconnect anything. Older thermostats often use R for 24-volt hot, C for common, G for fan, Y for cooling, W for heat, and O or B for a reversing valve on a heat pump. Labels drift over the years, and a wire that was never used may still sit in the bundle. A spare conductor in a five-wire cable does not prove a C-wire exists. What matters is which conductor reaches the control board, and that is what the next steps check.
Measure the control circuit
Set the meter to AC volts. With the system powered and running a call if you can, measure between R and C at the thermostat base. You should see something close to 24 volts AC. A reading near zero points to the transformer, a blown fuse, a broken connection, or a short. A reading that sags sharply when the system starts a call suggests a weak transformer or wiring that is too light for the load. Do not probe line voltage terminals inside the air handler. The control board sits close to 120 or 240 volt connections, and a meter lead that slips there ruins a good afternoon, and worse.
Confirm C with a continuity test
With the power off and the thermostat wires disconnected at both ends, set the meter to continuity or low ohms. Touch one lead to the C wire at the thermostat end and the other to the C terminal on the control board. A beep or a reading near zero confirms that a conductor runs the full distance. Then check that the conductor is not shorted to R or to another terminal. If the continuity test fails, you have your answer. The new thermostat will need a new run of wire, an adapter approved for your equipment, or a model that works without C. Each option has a different cost and a different risk, so make the choice with the numbers in hand.
Write down what you found
Record four things before you buy: the wire labels with the photo, the R-to-C voltage reading with the system state noted, the continuity result, and the control board model number. Give those notes to the installer or the store before you choose a model. Their job is to match the options against the manufacturer's requirements and to do any work beyond reading volts and continuity. Meter readings show where the wiring stands. They do not replace a hands-on check by someone qualified for the work where you live.
A week of careful notes costs less than a return trip, and it gives the next technician something better than a guess. The ACHR News item is a reminder that the paperwork and the wiring have to agree. Your meter can tell you whether they do.